How to Cook a Turkey for The First Time Like a Pro

Erika Marie is a fashion and beauty writer as well…

Thanksgiving is the one holiday that requires a turkey and the one time you’re most likely to cook your first turkey. It’s easy! But if you don’t know what you’re doing, a few simple missteps could lead to dry meat and other unfortunate results. That’s why we’ve put together this guide for cooking turkey for the first time, complete with tips on picking the right bird and roasting times, along with some recipes for sides like roasted vegetables and gravy.
How To Cook a Turkey For The First Time
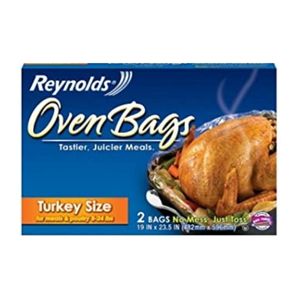
- Grab an oven bag. You’ll need one specifically made for turkeys, which will be large enough to hold your bird. An oven bag ensures your turkey cooks to perfection. It’s your secret weapon to keep the meat from drying out.

- Place a tablespoon of flour inside the oven bag, then place your turkey inside. Secure the end with the tie included with the oven bag, then make several slits in the bag to allow steam to escape. Place your turkey in a roasting pan. Preheat your oven according to the directions on the oven bag. Allow at least 3 hours for the turkey to cook.
- Prepare your stuffing and other side dishes that need to be cooked separately from the turkey (like mashed potatoes).
- If you have other items that need to be cooked in advance, get those going now too!
- Remove the neck and giblets from inside the cavity of your turkey—they will be used later as part of your gravy. With kitchen shears, cut through both sides of each thigh bone where it attaches to either side of the backbone. Place a large roasting pan over medium heat on top of two burners; add enough oil or butter to form about a 1/4 inch deep layer in the bottom of the pan. When hot, place chicken legs into the pan skin-side down first (the skin should sizzle when touching the surface). Cook until golden brown on both sides; remove from pan and set aside for now. Brown meaty side down first; remove from pan once done cooking but keep warm aside until ready for use. Cut off excess fat around edges if desired but leave some `flavorful’ fat content!
Picking the right bird

Choosing the right bird is an essential part of your cooking experience. When looking for a bird, you should consider how well-stuffed it will be and whether it has been fed a diet of grains, corn, and soybeans. These two factors will determine if your turkey will be moist or dry when cooked.
If you are planning on making gravy, then look for a bird that’s been well-stuffed. This will ensure that every bite of meat is covered with flavorful stuffing!
Prep your turkey and stuffing
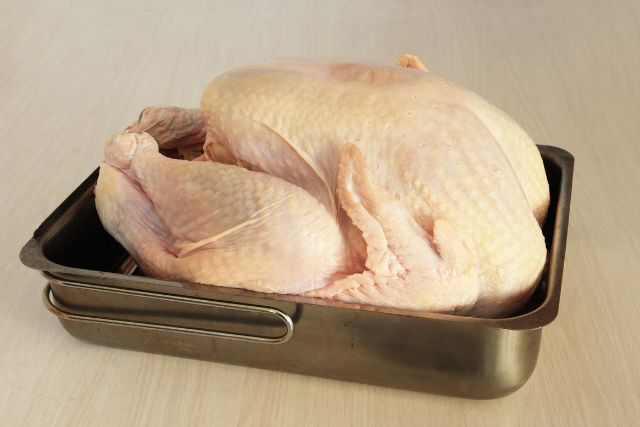
- Place your frozen turkey inside the refrigerator, as it will need time to thaw. A good rule of thumb is one hour of defrosting time per four pounds of turkey. Don’t skip this step, as you can’t cook a frozen turkey!
- The night before, prepare stuffing or dressing by combining bread cubes with herbs and vegetables in a bowl. Add enough broth, so everything is moistened but not soggy. Pack into a 9×13 inch baking dish lined with foil or parchment paper. Cover tightly with foil; refrigerate overnight until ready to bake the following day.
Roast veggies separately
Roasting veggies is a great way to get some healthy side dishes on the table, but if you’re cooking for the first time, it’s easy to forget them. If your turkey takes a few hours in the oven, keep those vegetables separate from it and roast them at a lower temperature, so they don’t dry out or overcook.
The best way to do this is by using a sheet pan—a rimmed baking sheet with low sides—so that all your vegetables are close together and there’s no chance of anything getting lost in the oven. Roast them with some herbs and spices (think salt, pepper, and rosemary), add whatever tubers or root vegetables you’re serving, and some starchy potatoes like Yukon Golds or fingerlings. Once those are done roasting, transfer them into another pan while still hot (you’ll want them at room temperature when they go back into the oven). This will help make sure that nothing sticks together and guarantees even cooking across each dish.
Let it rest before carving
Letting your turkey rest is crucial not just to its appearance but also to its taste and texture.
Once the turkey has been removed from the oven and set aside, cover it loosely with foil and let it rest for at least 20 minutes—but up to an hour if you can spare the time. This will allow the temperature of both interior parts of your bird (breast, thighs, etc.) that were cooking faster than others to even out with those slower-cooking parts that took longer. It’ll also give those juices you’ve worked so hard to release time to redistribute throughout your meaty meal instead of pooling at its edges or running out all over your plate when you carve it in front of company (which would be tragic).
Conclusion
For the first time, cooking a turkey can be overwhelming. Don’t hesitate to ask for help or try again if something goes wrong. Remember that sometimes things don’t go according to plan—and that’s okay! If you follow these steps, you will have an incredible first time cooking a turkey. Now go forth and cook your first turkey like a pro!
Save the image below to Pinterest so you can come back later!

Erika Marie is a fashion and beauty writer as well as a hardcore vintage clothing enthusiast. In her free time, she can be found thrifting for hidden gems to add to her collection.


